
build your own owl box
We are officially on #OwlWatch2026. I figured I’d really lean into this ‘Owls in the Family’ vibe and see if I could attract one in my own backyard. Now I’m not expecting a parliament of owls to move in tomorrow. But maybe one might?!
Okay. So some quick research tells me it’s not exactly the perfect time for an owl to move into new digs (it typically happens in early spring when they’re looking for a place to lay their eggs) but credible research says that even if they don’t move in for good, they like a good box to perch and hangout. And that’s good enough for me. They can rent to own and maybe make it permanent next year.
There’s lots of great instructions online to help you build your own, but here’s a few helpful hints. Building an owl box requires untreated, weather-resistant wood (like cedar), and a nice big properly-sized entrance hole, drainage, and ventilation. You’ll want to make shallow, horizontal chisel or saw cuts on the inside of the front panel below the hole so baby owls can climb.
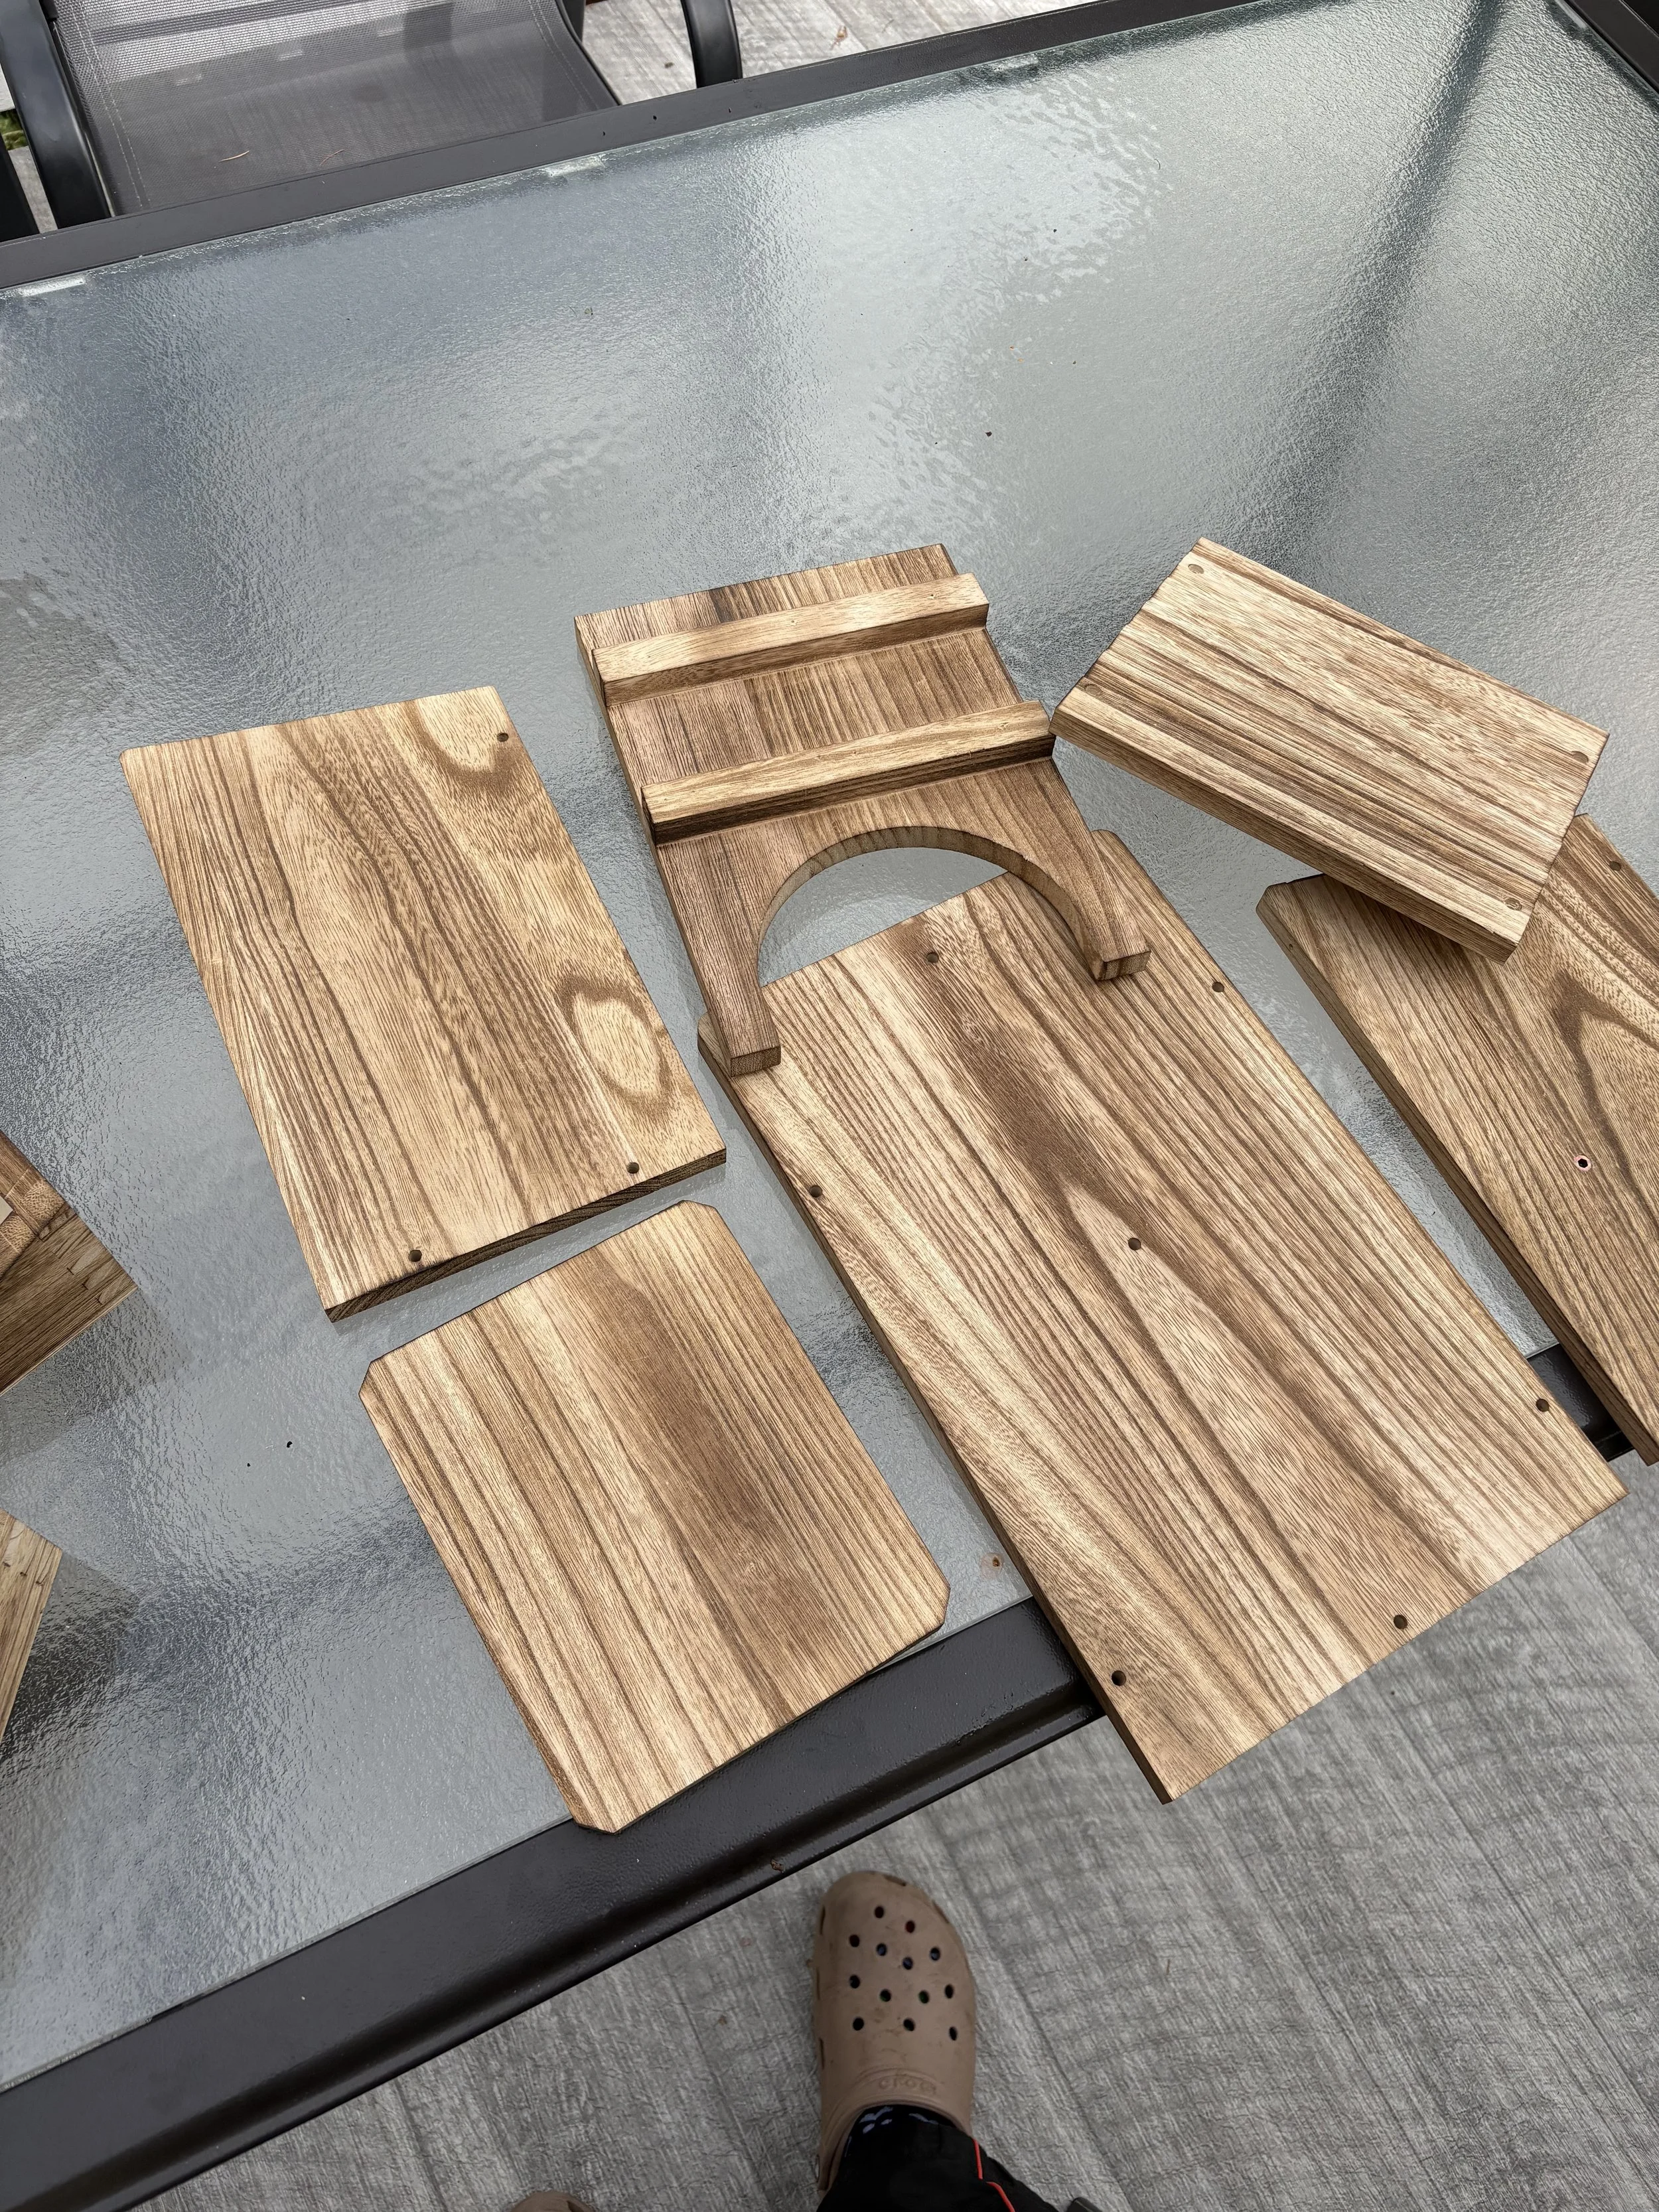
If you’re really looking for a fun challenge, Fraser Valley Conservancy has some pretty fancy plans and lots of information on how to really make some stellar owl boxes. I didn’t quite have the time, tools, or quite frankly the space to go that intense. I did find a relatively cheap and easy to assemble owl box from Amazon that arrived in less than a day and I think it could home some lovely screech owls.
Here’s hoping we’ll get an owl to call the backyard home. Stay tuned and I will continue to update all the loyal readers on #OwlWatch2026
It was really easy to build!